Week 8
CNC, Molding & Casting
Design
For this week, I wanted to create a simple paperweight of North Carolina, my home state, using the ShopBot. I always wanted to try to carve out the topography of the state since the western regions are fairly mountainous. I started by retrieving a 3D topographic map of North Carolina from thingiverse, as well as a vector outline of the state to define the borders of the cut from a free vector map website. After importing the 3D topographic file to Fusion 360, I applied several layers of smoothing to eliminate most of the jagged peaks of the mountains. The final model I exported to the shopbot machine is displayed below.

Download the model here: NC Processed Topographic STL Model
CNC
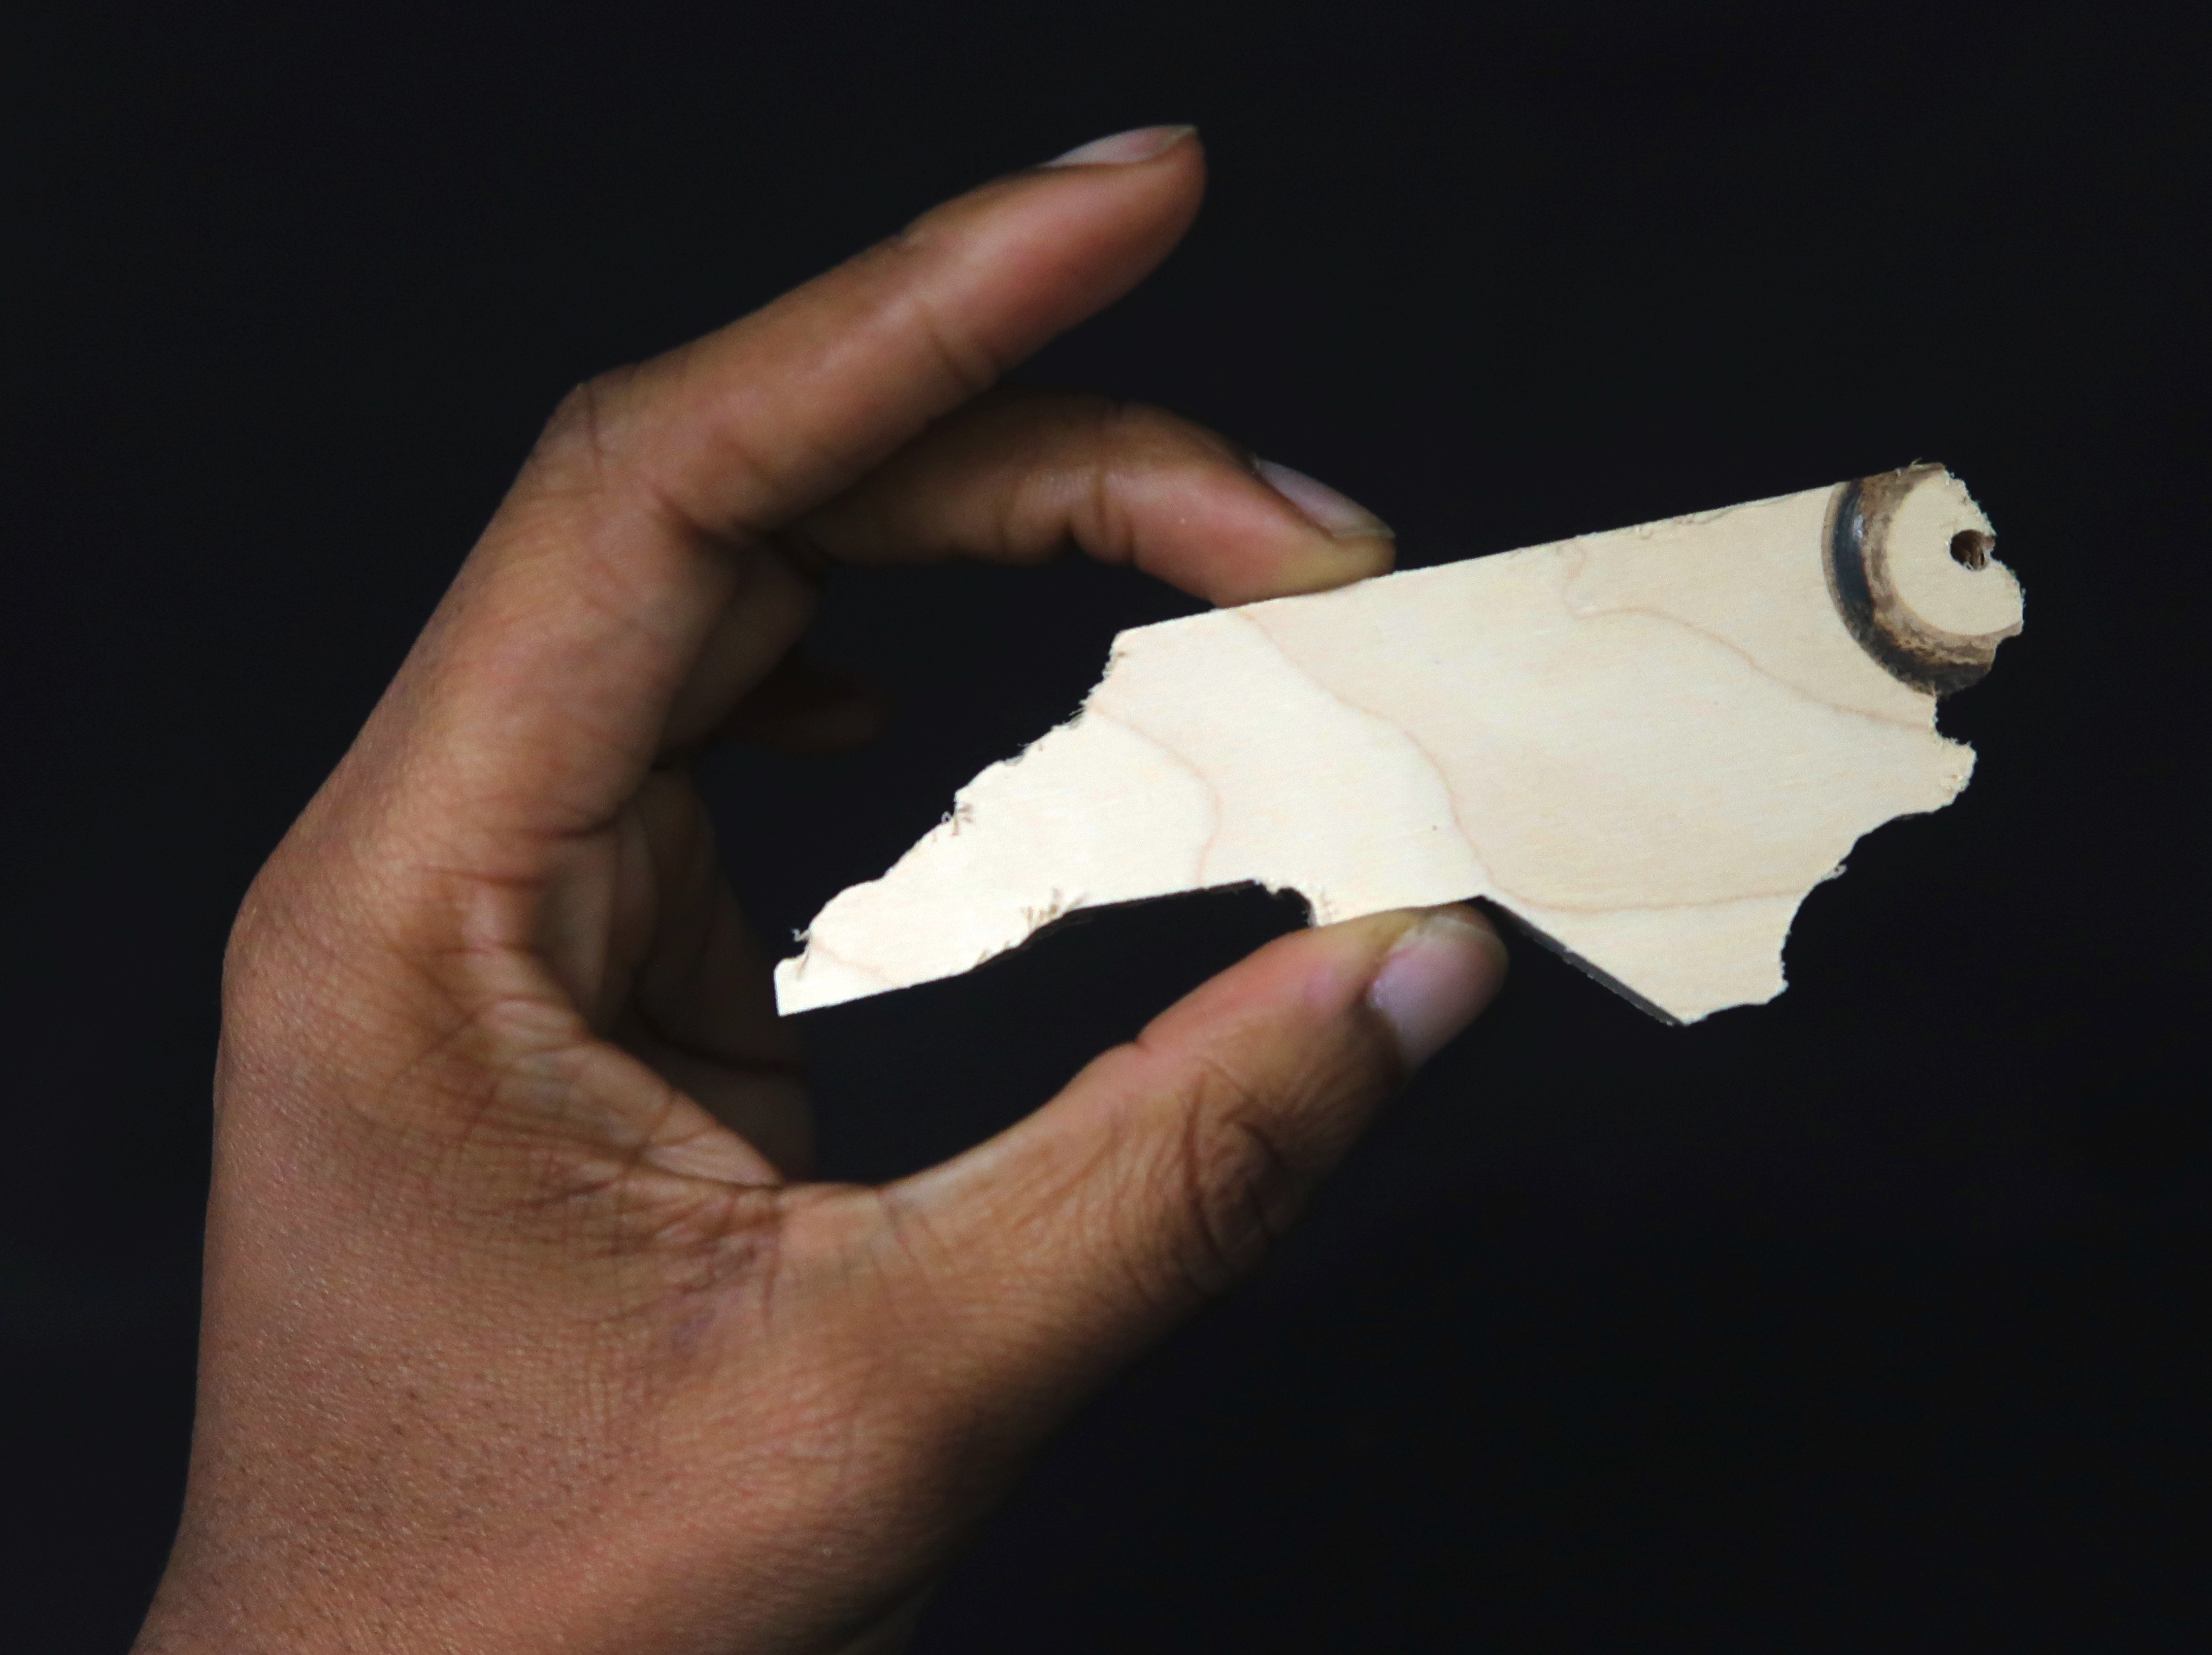
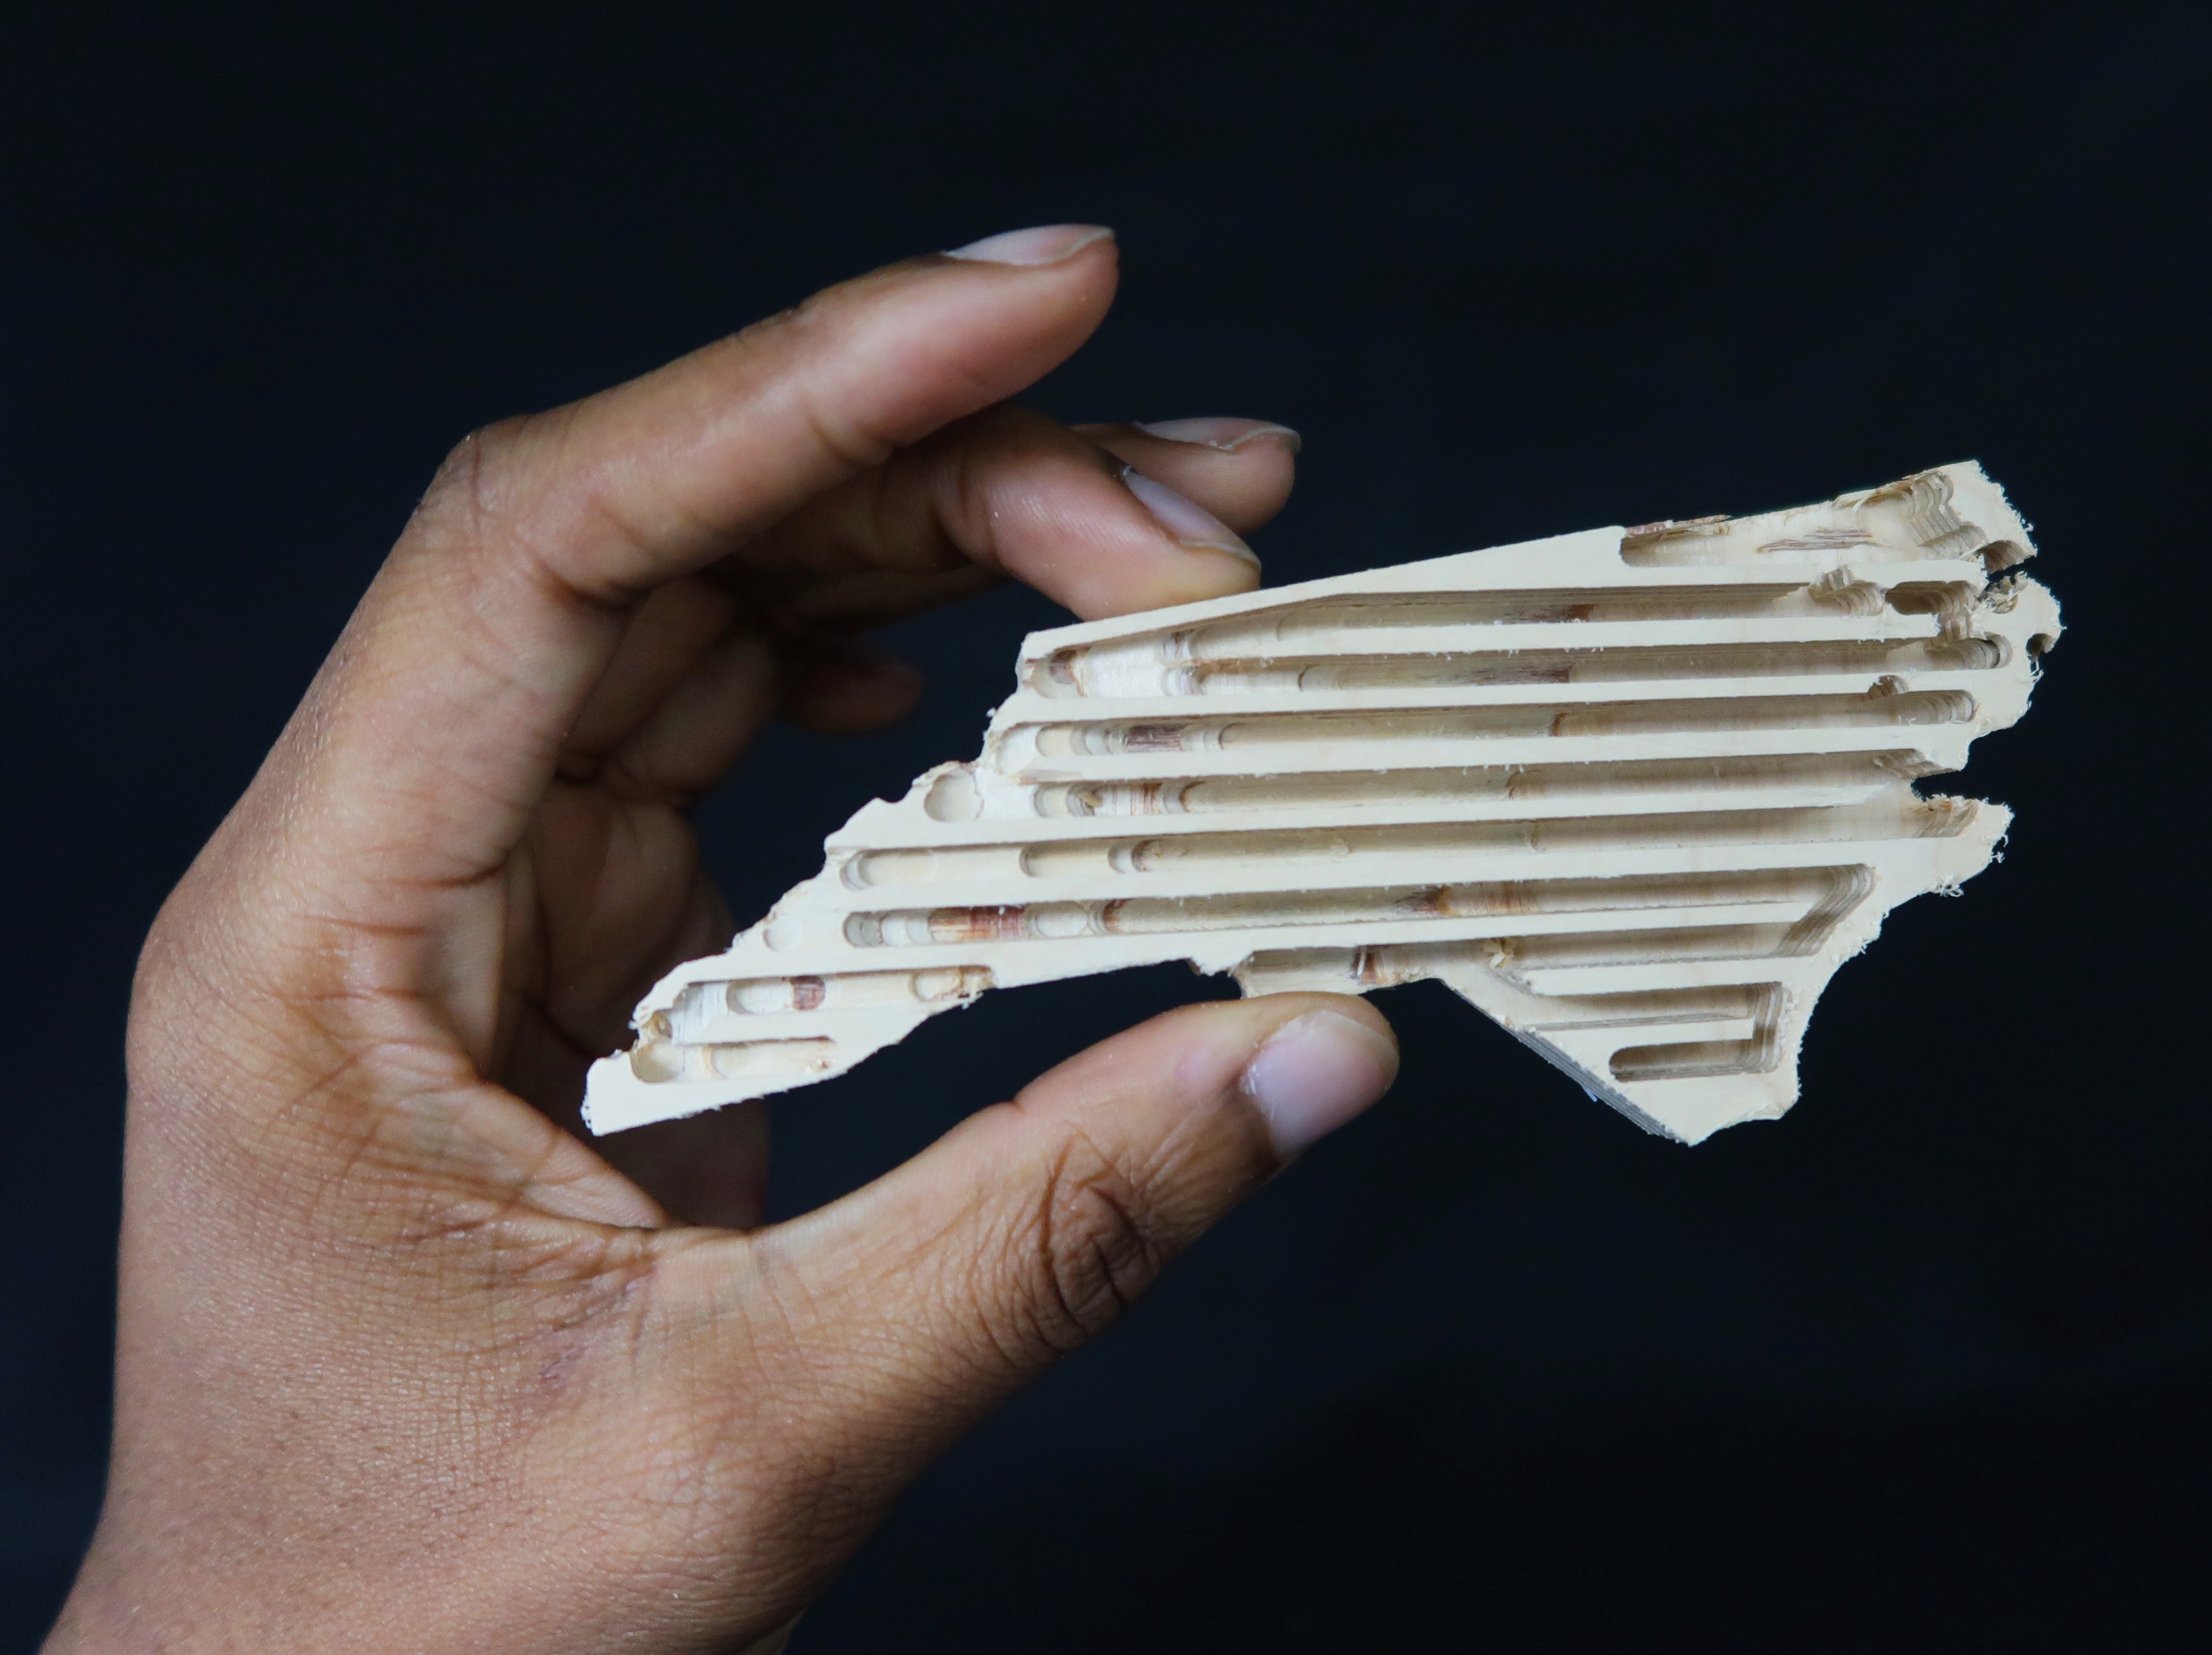
I imported the processed NC topographic STL file to the Shopbot CNC software to create a drill bit path for the terrain. I also imported the vector border file to the software to add the path for the full cut around the outline. After setting up plywood to be cut on the ShopBot, I first cut a test NC map without any texture (i.e. terrain). This first test cut is displayed in Figure 1. After seeing that the Shopbot could successfully cut out the shape of NC, I tried milling the terrain into another sample (Figure 2). As seen in Figure 2, the topography was a bit too fine for the drill bit size I used. Also the path parameters did not exactly match the size of the NC cut out nor the thickness of the plywood, resulting in deep separated lines of milling. Despite these miscalculations, one can still get a sense for the relative height of the terrain in the western mountainous regions compared to eastern coastal regions.
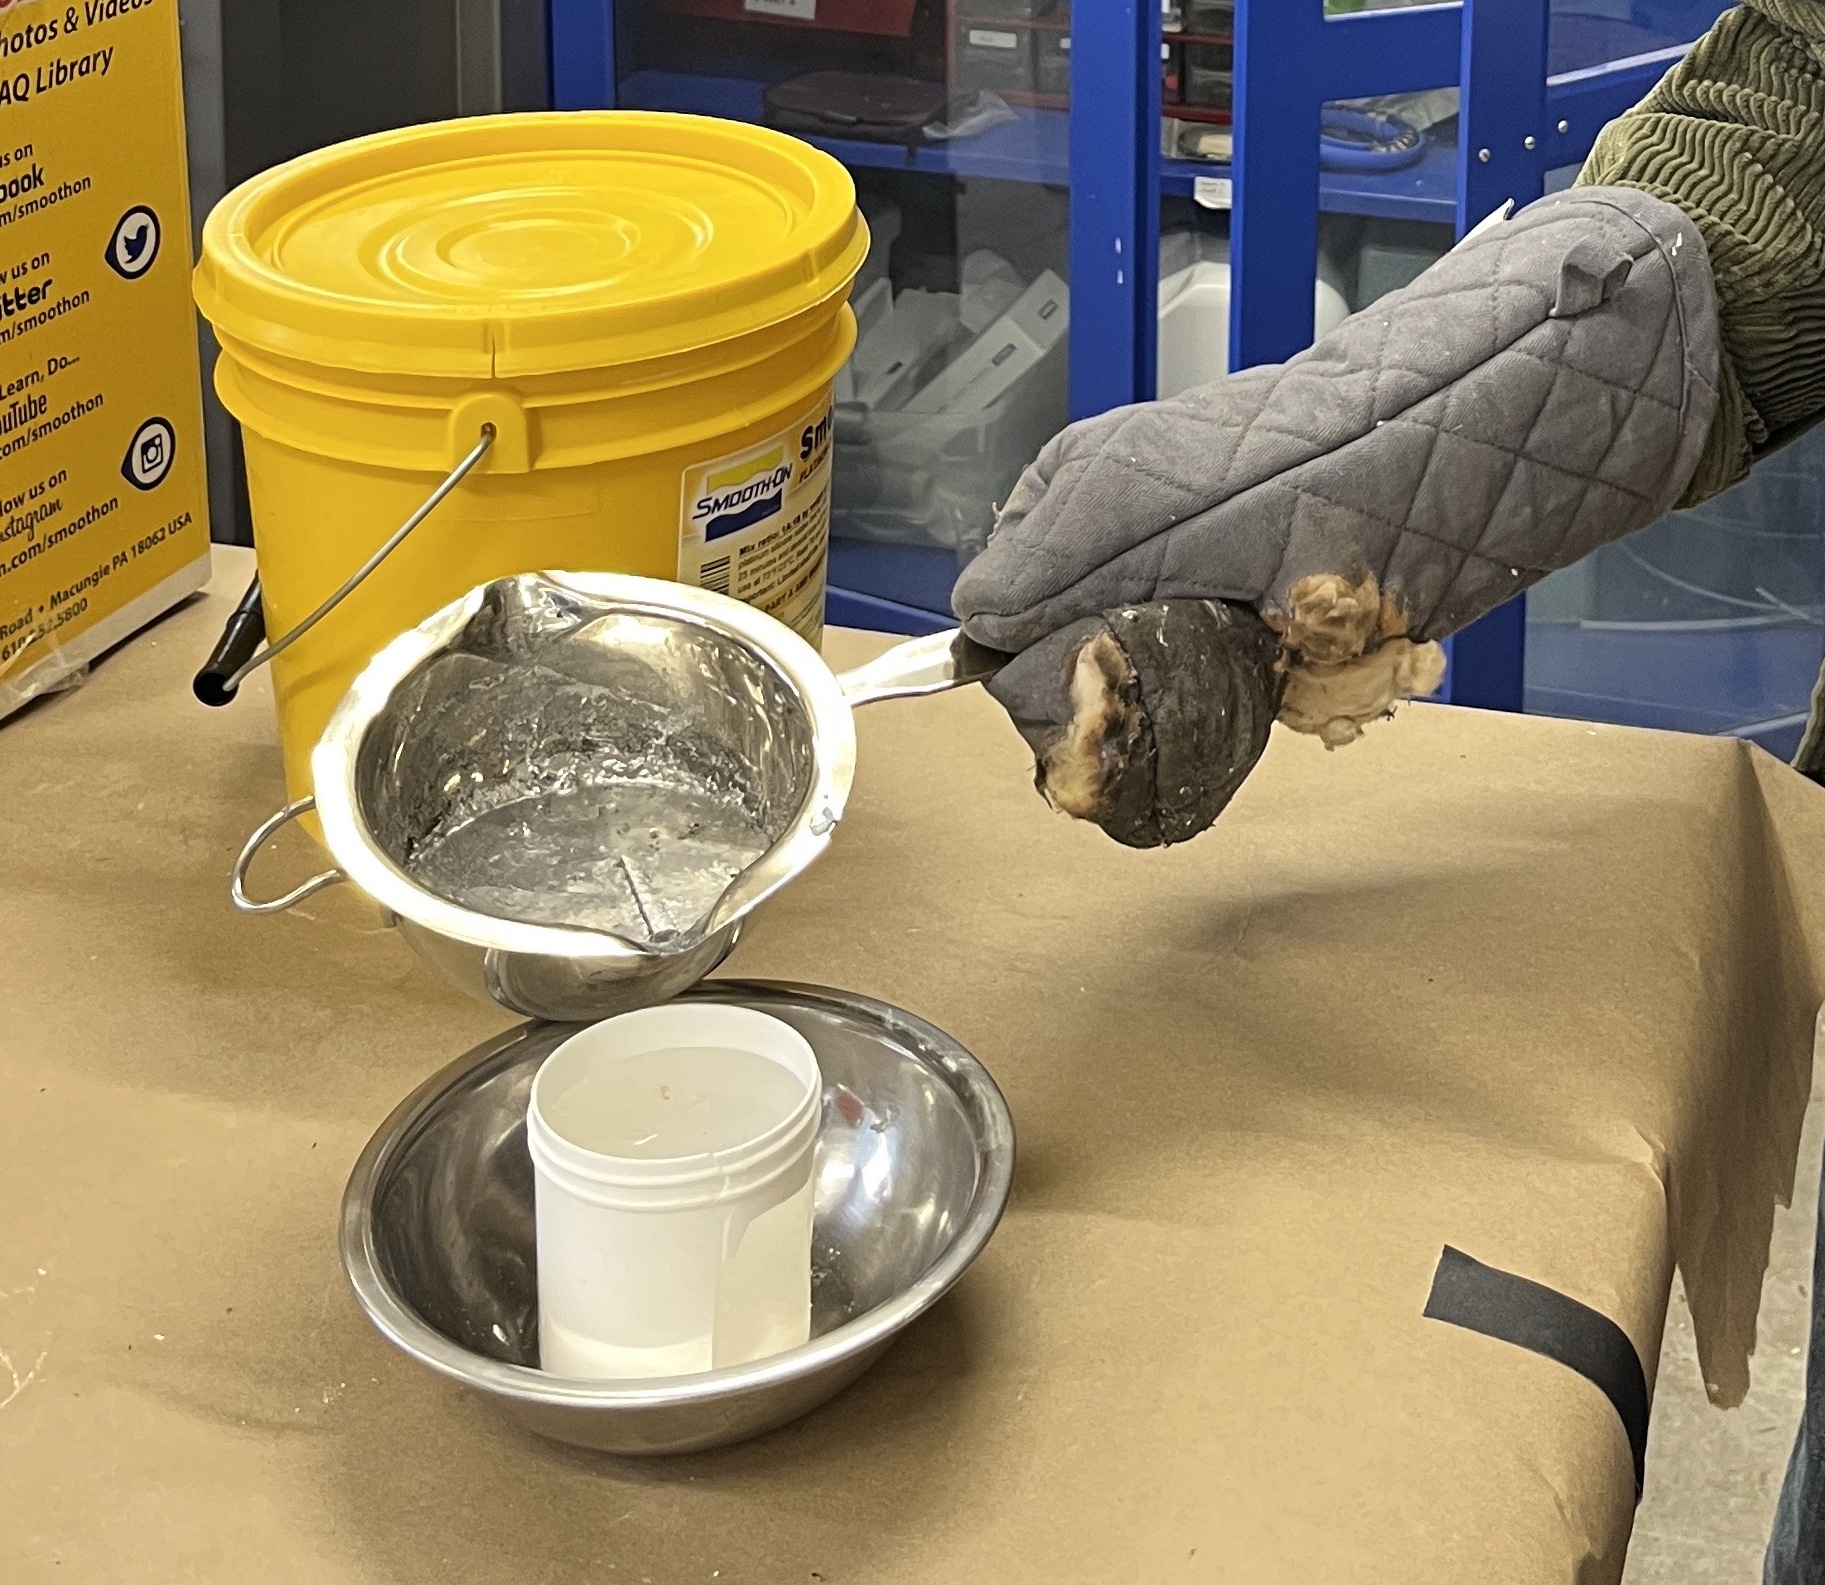
Molding & Casting
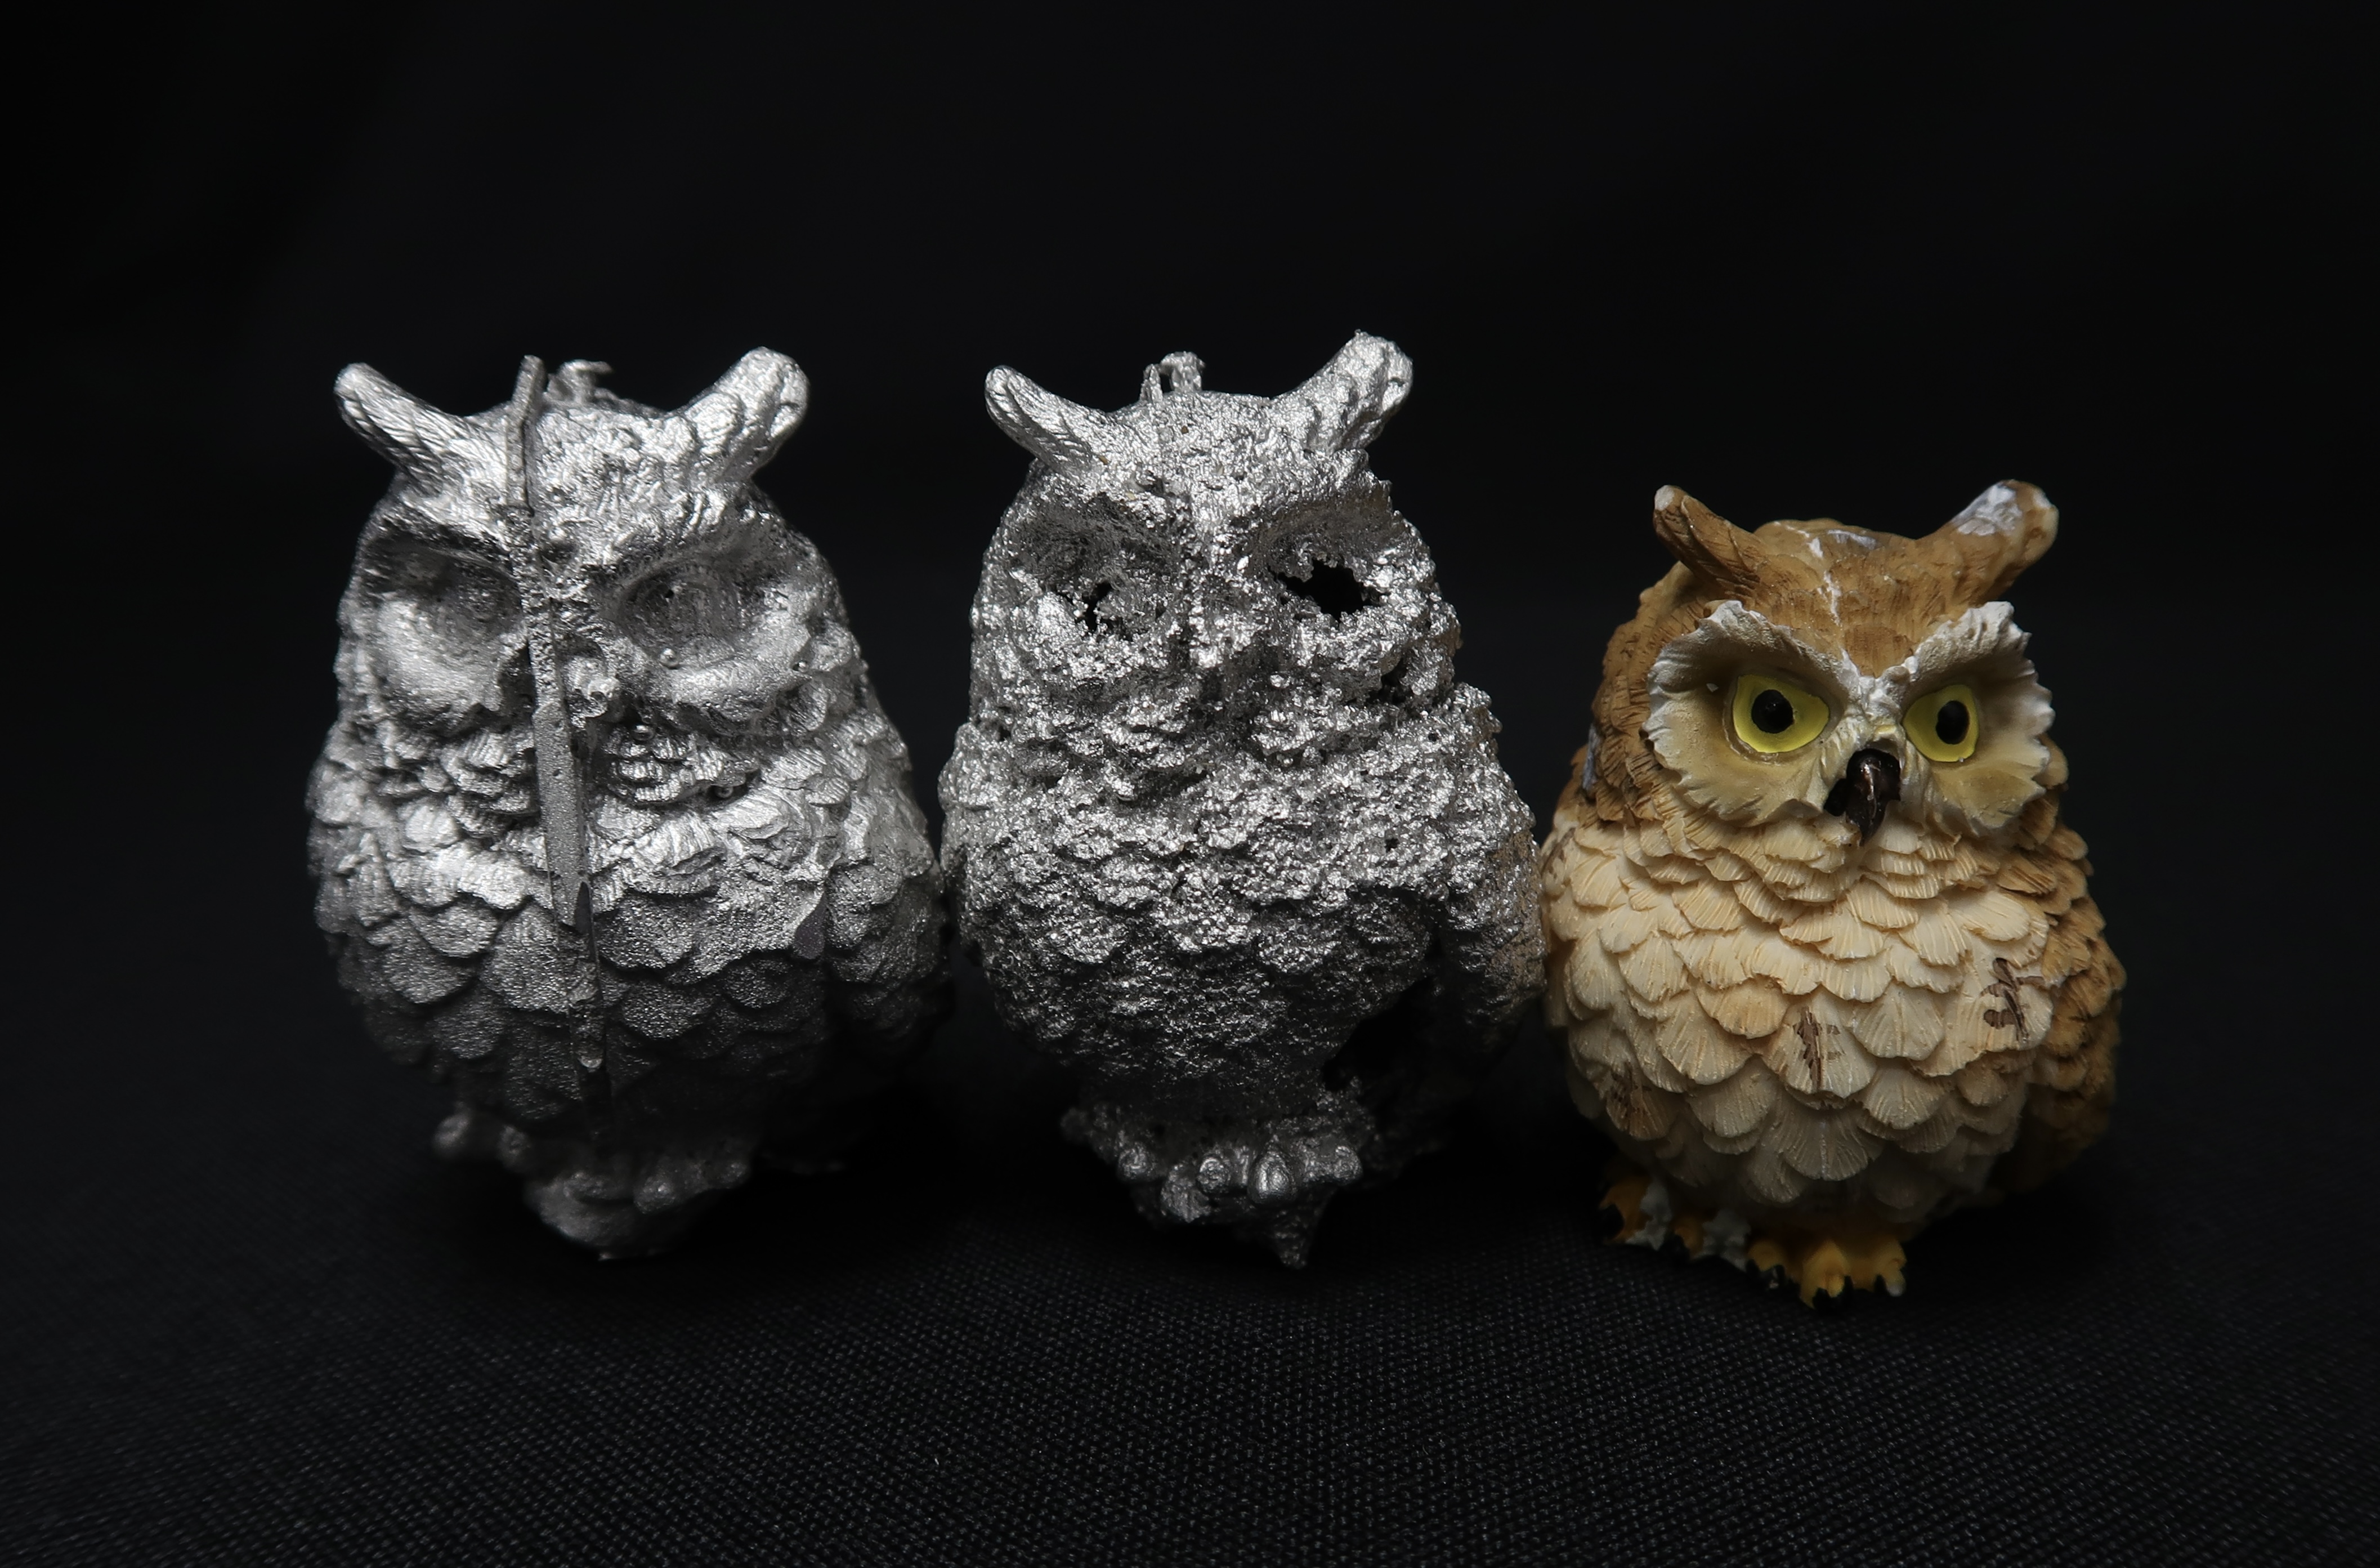
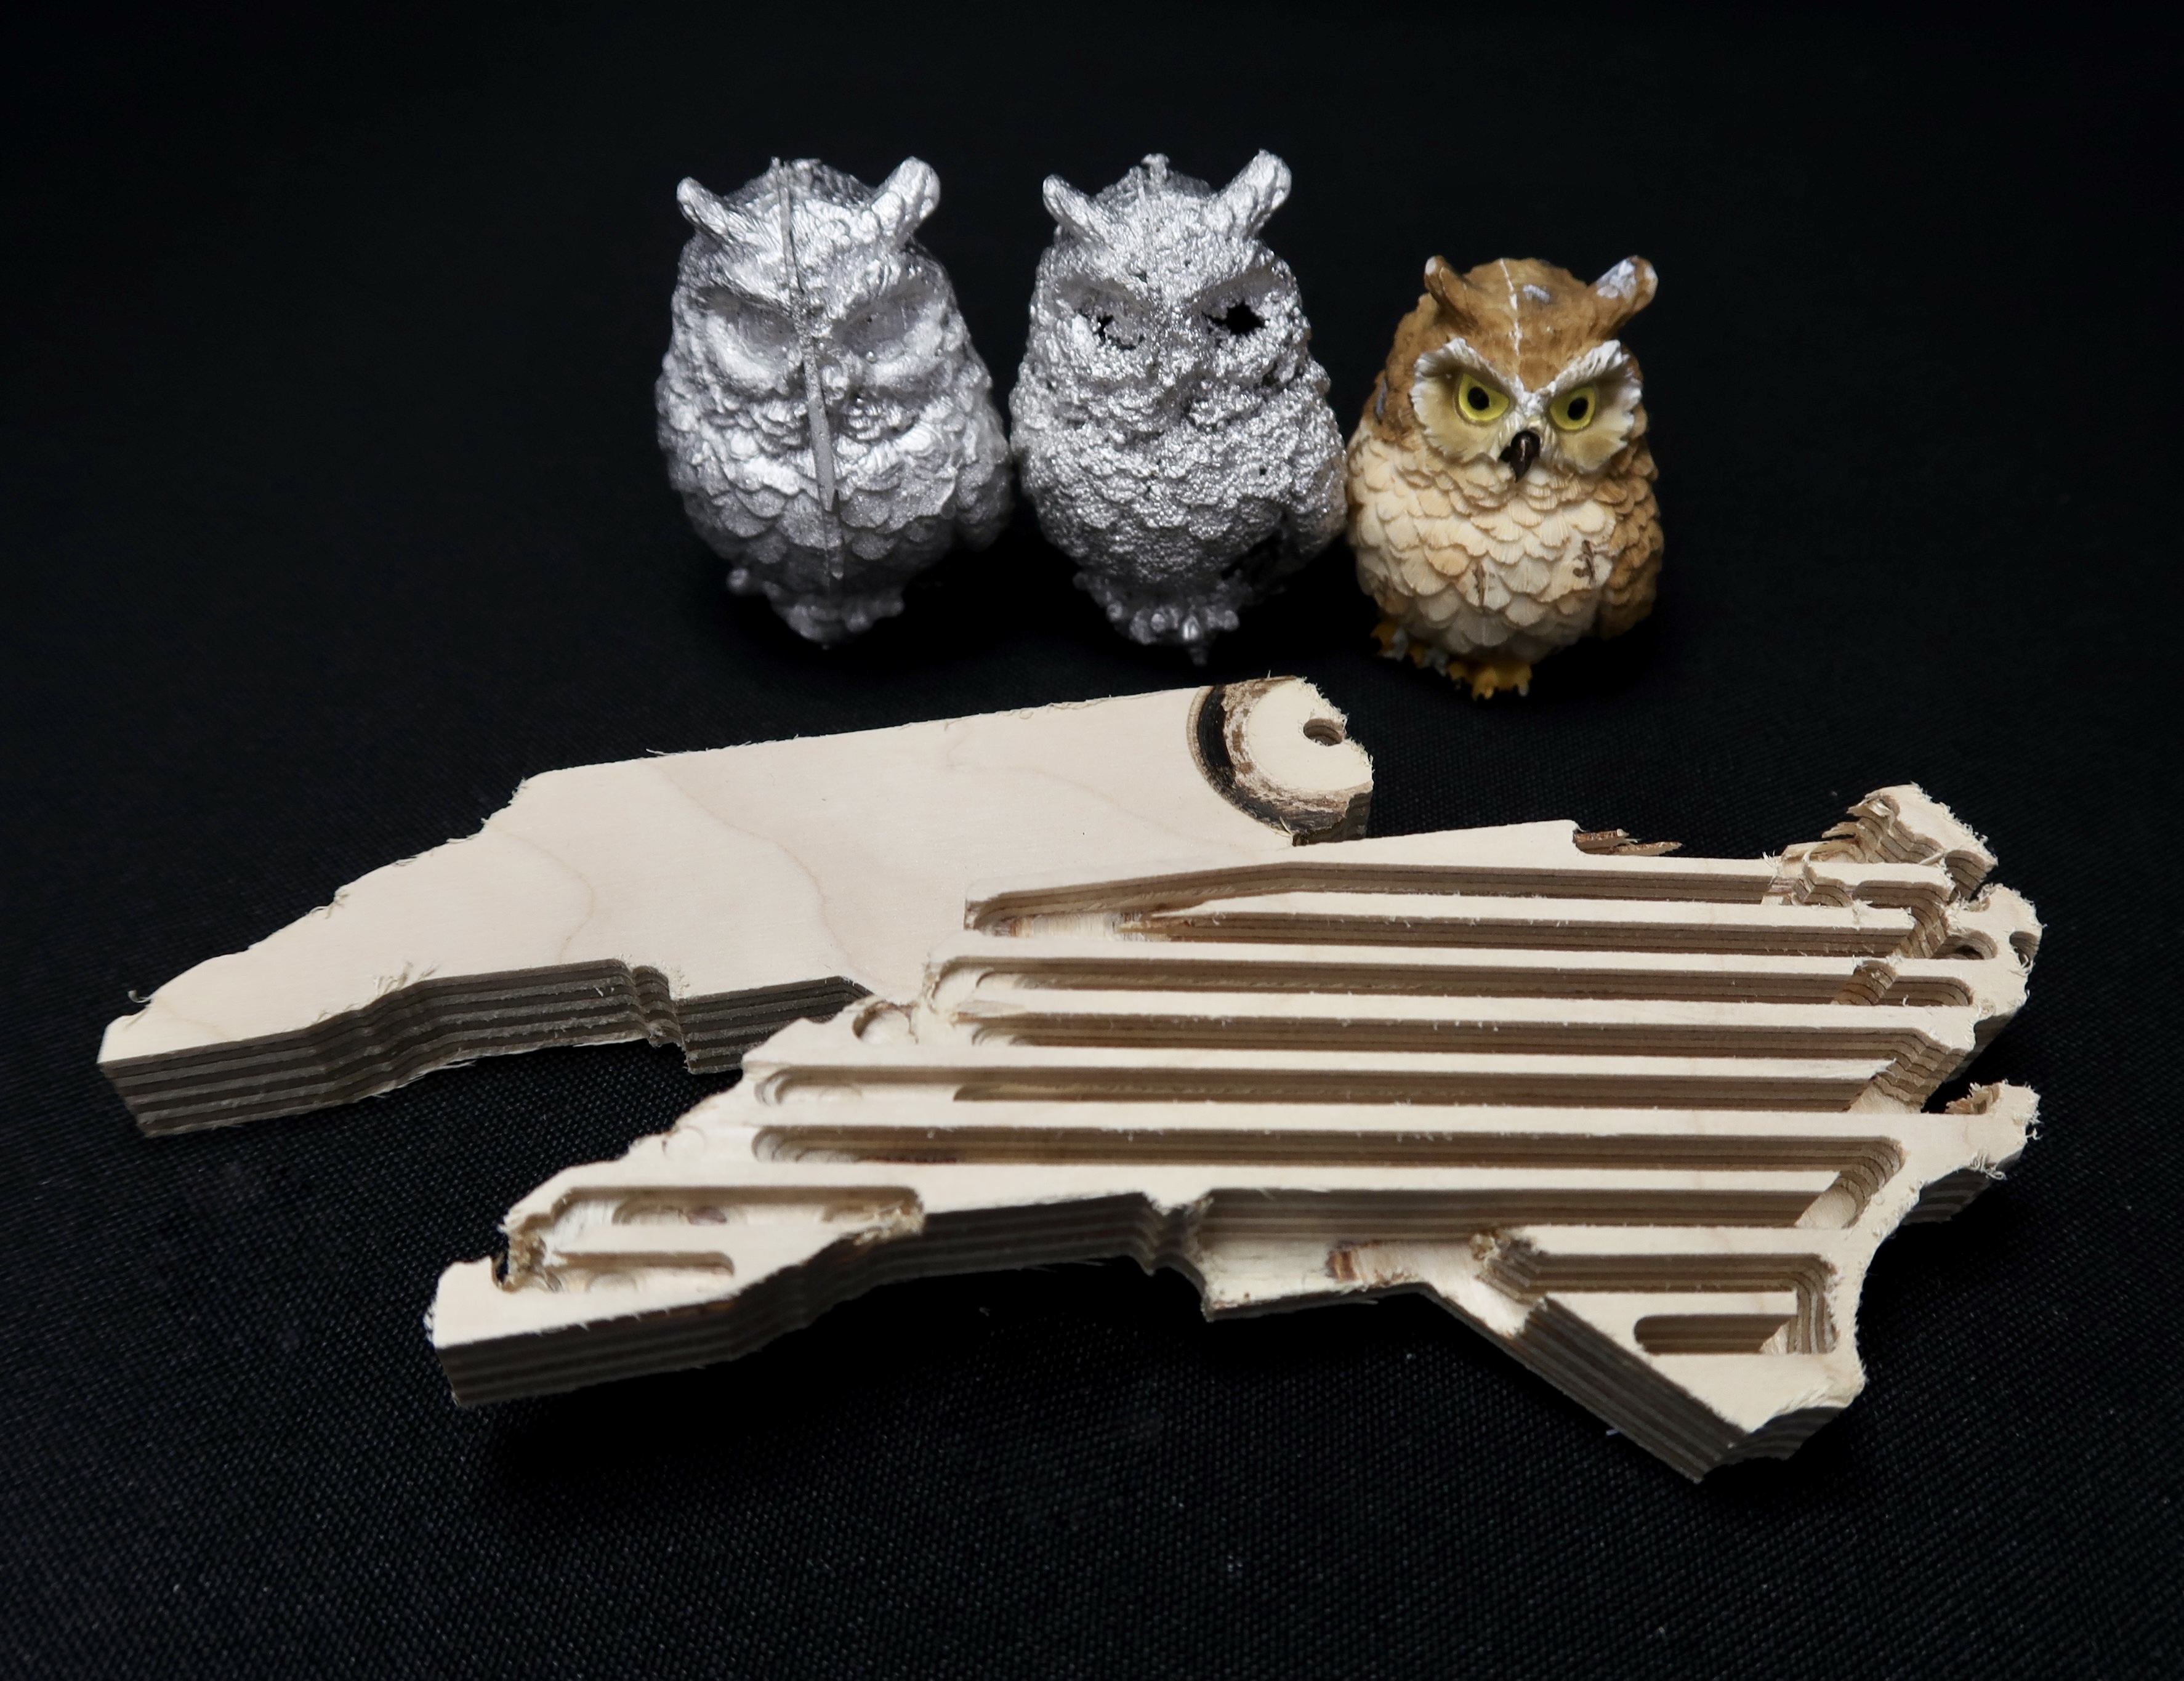
I was excited to work with bismuth metal for the molding and casting portion of this week. I attempted to create a cast of an owl based on a mold of an existing owl statuette I own. Using the Smooth-On silicon mold-making kit, I molded the wooden owl statuette. During the molding process, I used clay to create two holes in order to avoid air bubbles during the casting process. After my silicone mold set, I sliced out the owl figurine with an X-Acto Knife. For the casting step, I melted bismuth metal in the oven and poured it into the mold. This process is displayed below.
On my first try, I did not wait long enough for the metal to set which resulted in very rough finish with substantial gaps in the metal owl. On my second try, I waited a full 30 minutes for the metal to set, resulting in a much smoother finish with sharper details in the owl's feathers (Figure 4). Figure 3 shows the three owl figurines side by side with the final metal owl to the far left and the original wooden owl to the far right. In the final model, you can see where some of the liquid metal escaped the silicon mold through site of the cut. It's clear that sharp protuding features are difficult to capture through this method of molding and casting.