Week 3
Hand Tools and Fabrication
Inspiration
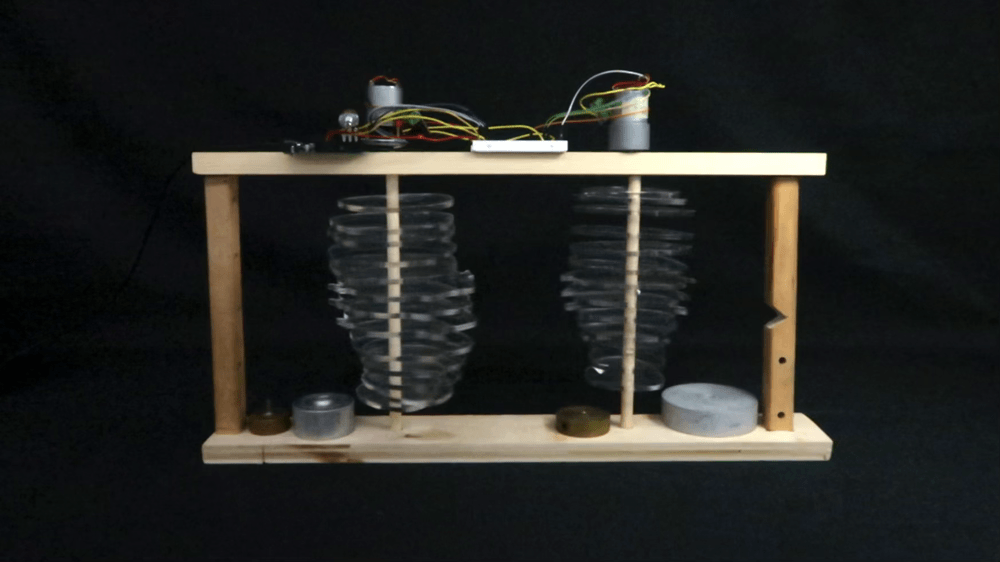
When I heard that we would be challenged to create a kinetic sculpture this week, my mind immediately went to the Ali and Nino statue shown in the video to the left. The statue, located in Batumi, Georgia, is made up of figures of a man and woman, Ali and Nino, in cross sections. As the statue moves, the figures intimately intertwine in a "hug." The statue was created for the Venice Biennial, and it is thought to represent a sense of impermanence. For my own sculpture, I wanted to pare it down and include only the heads. Instead of a hug, the two would kiss everytime they intersected.
Design
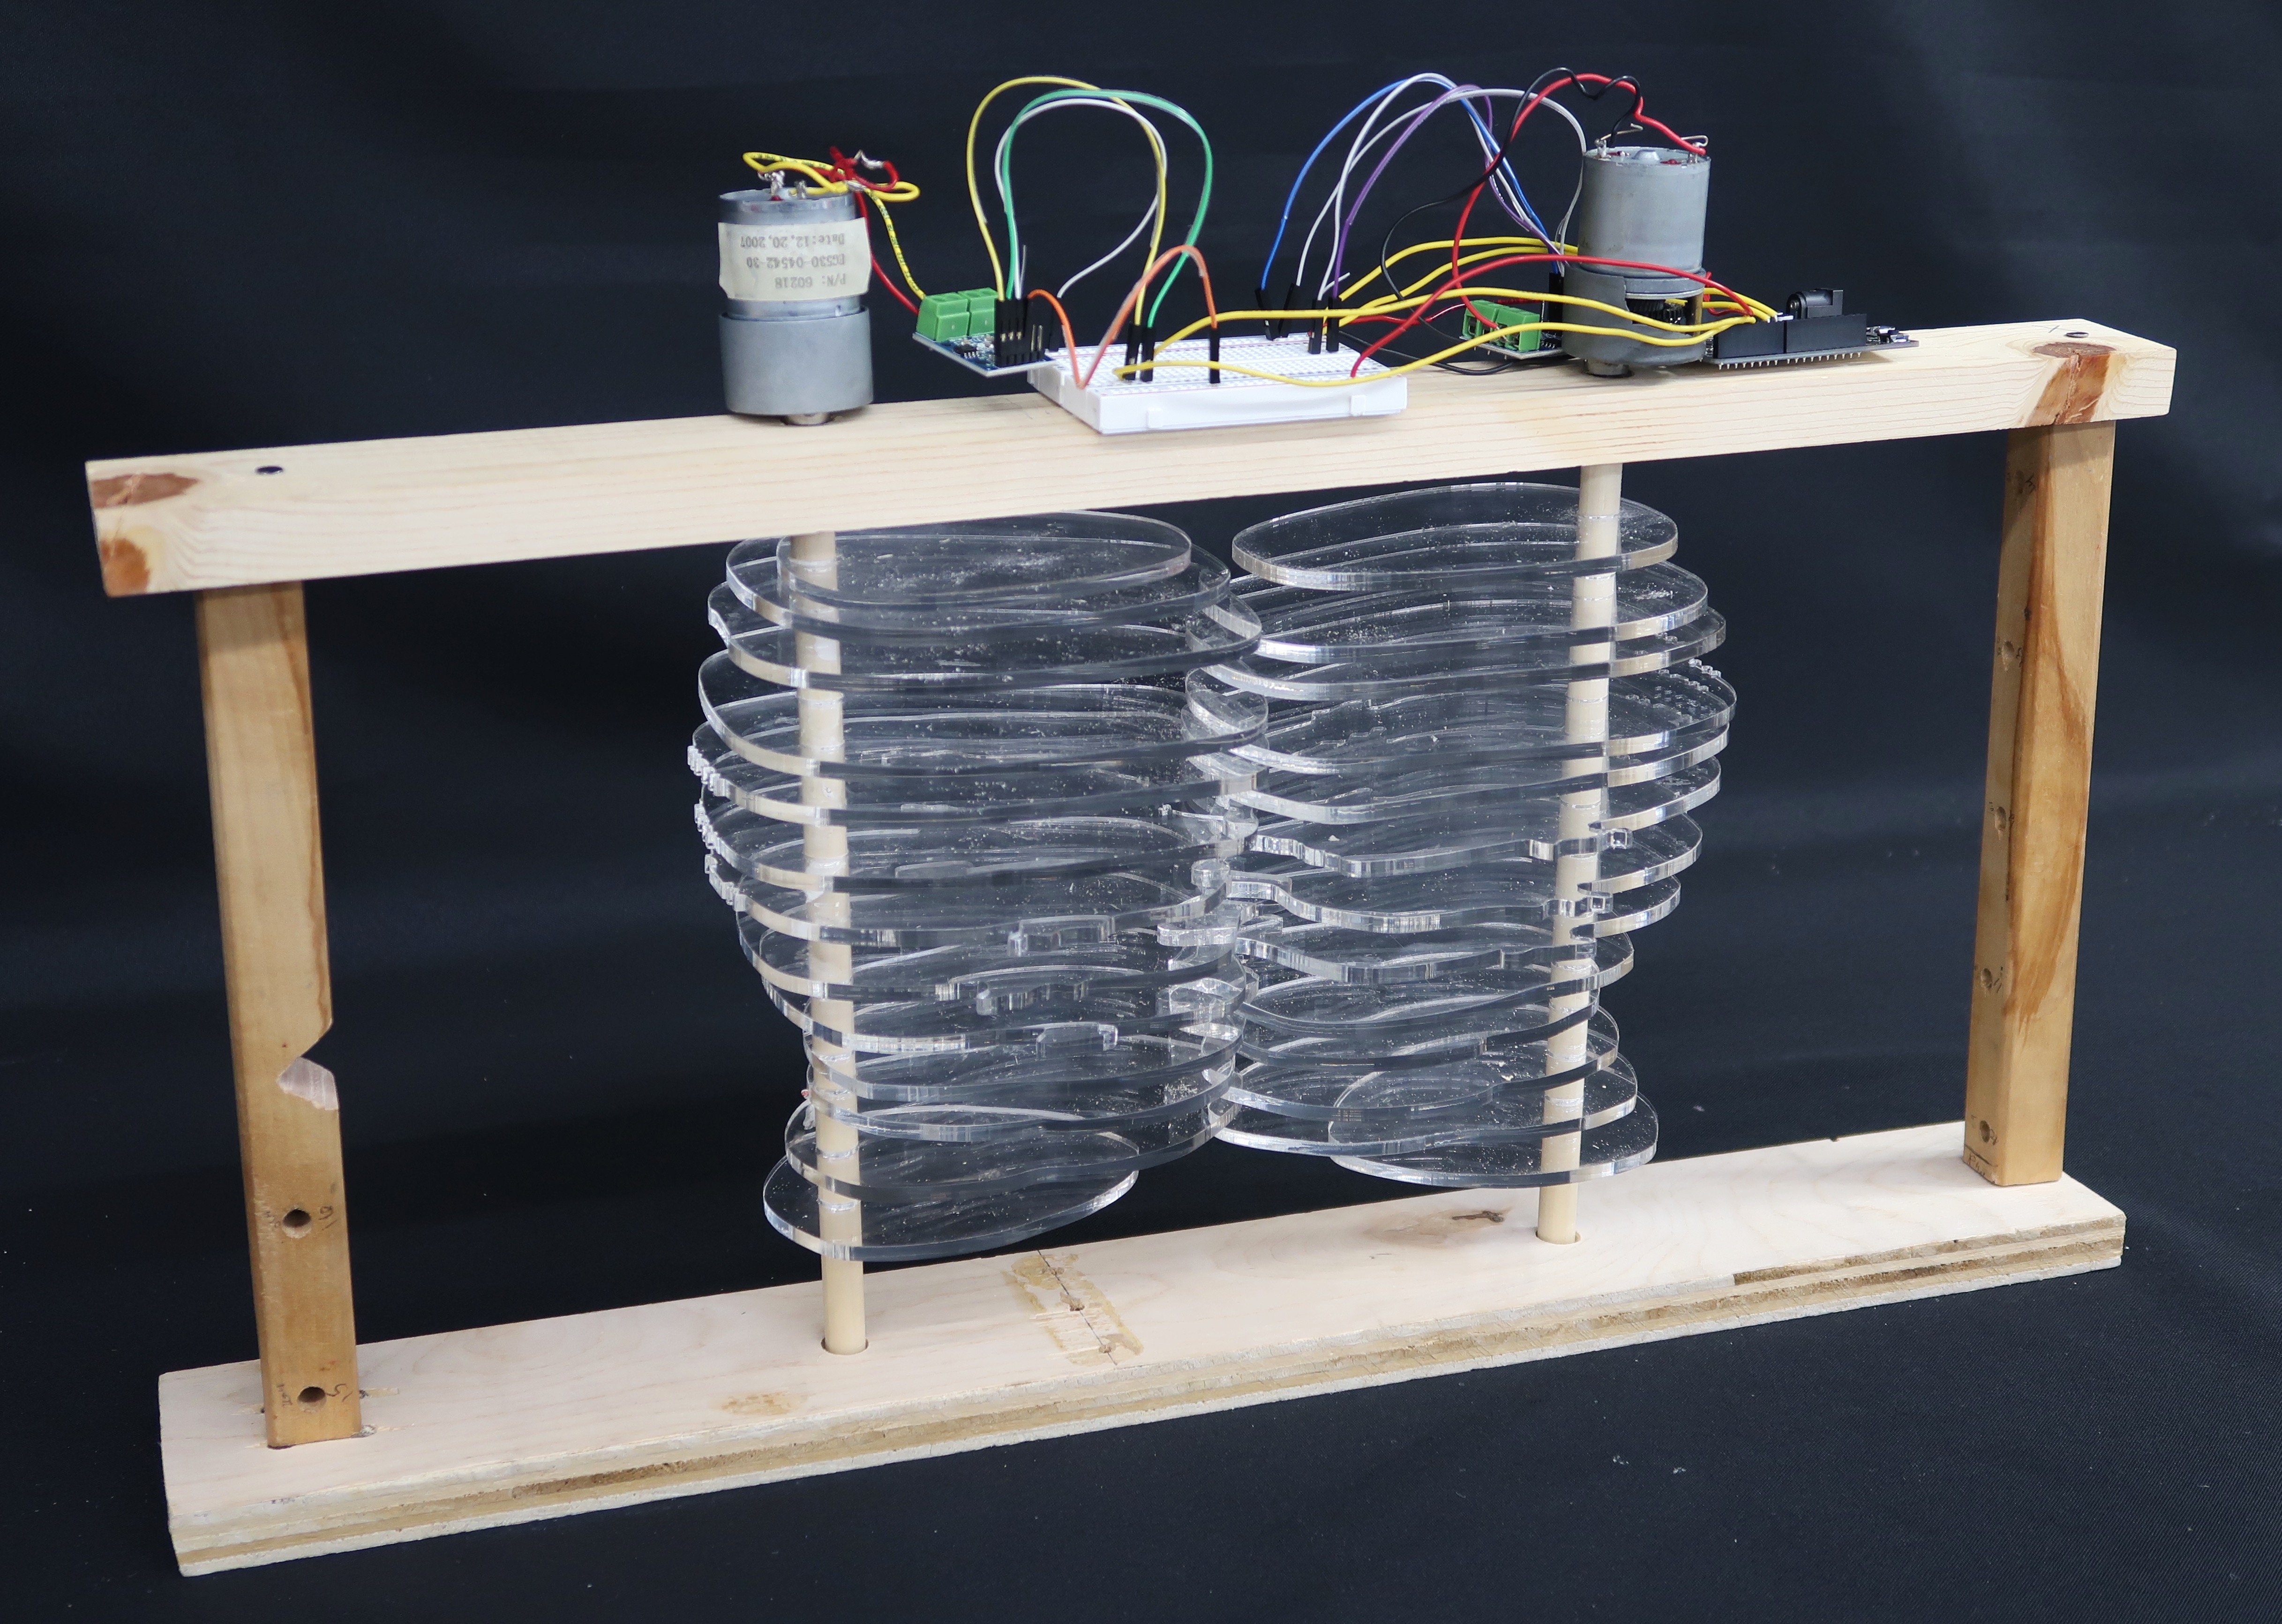
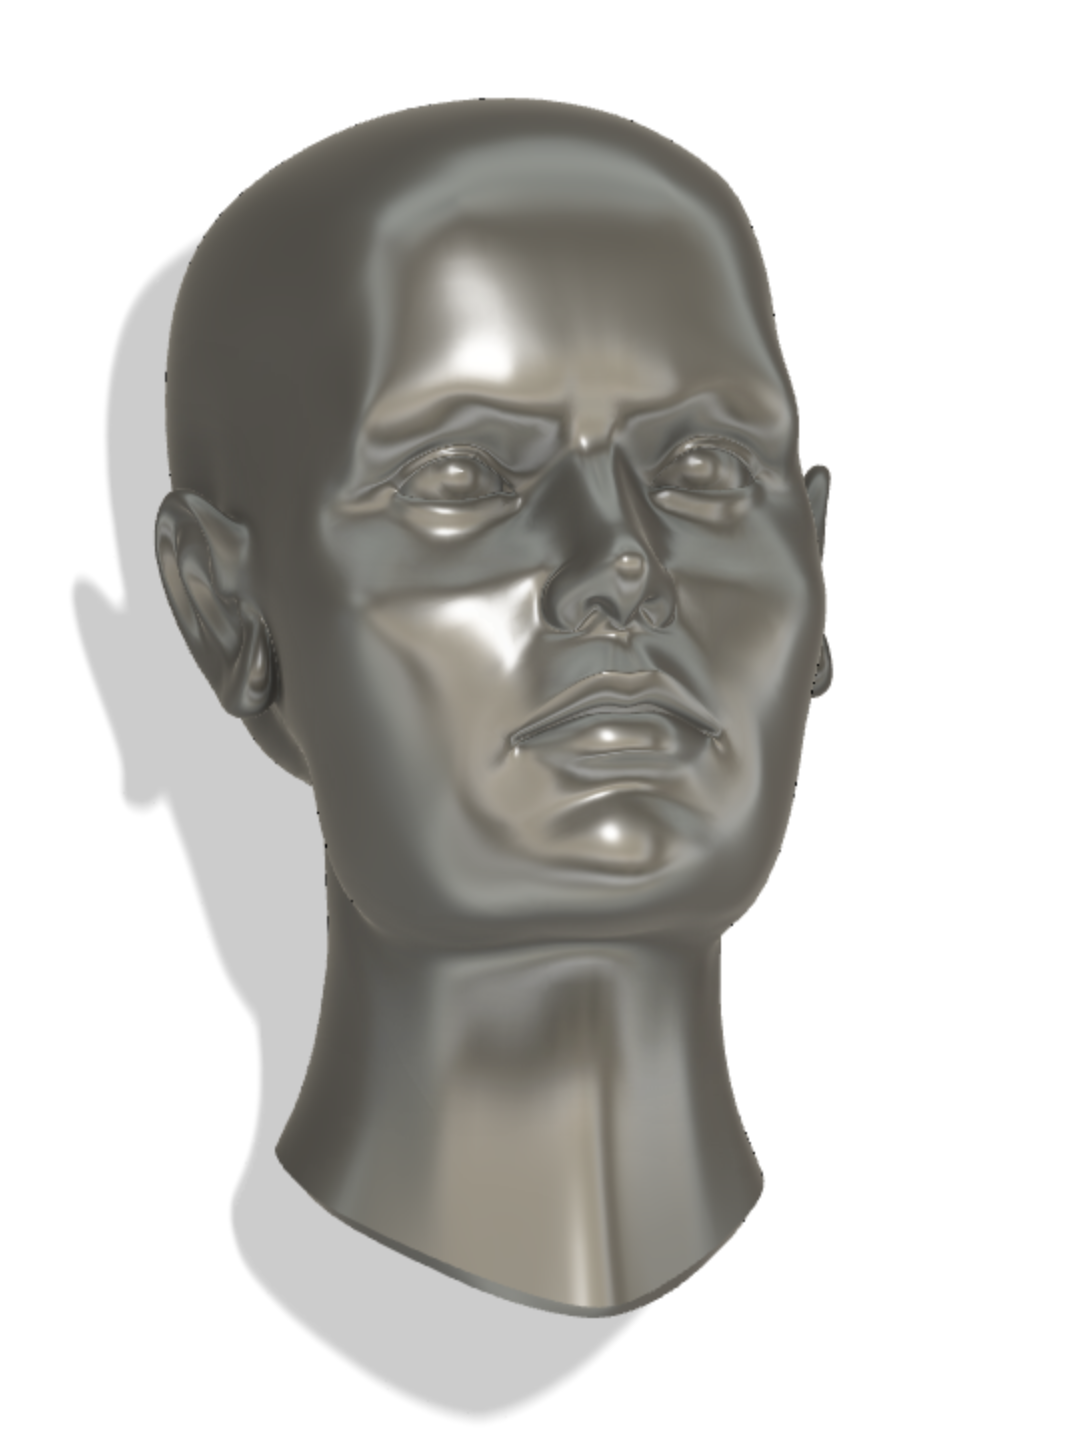
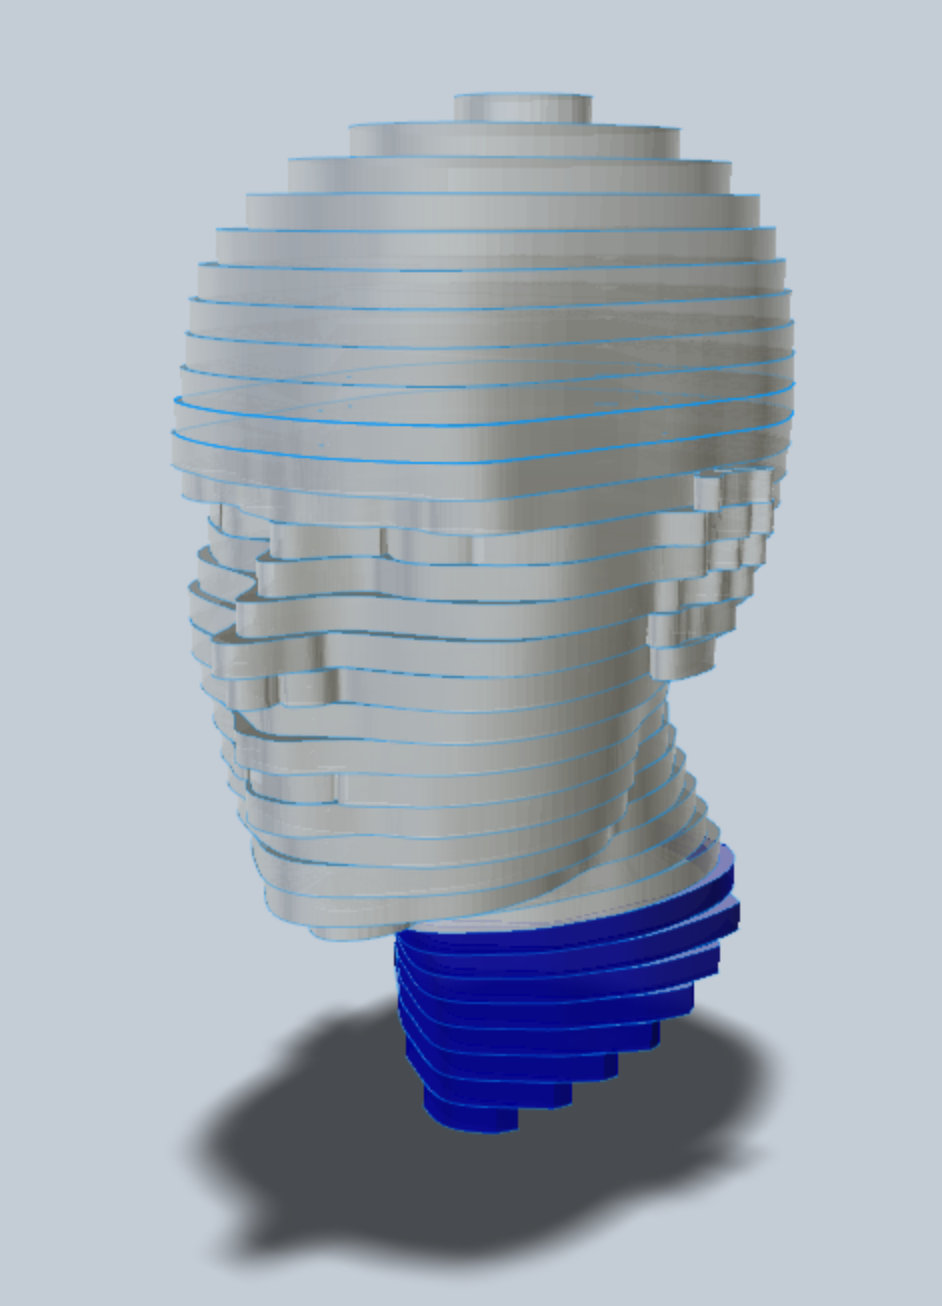
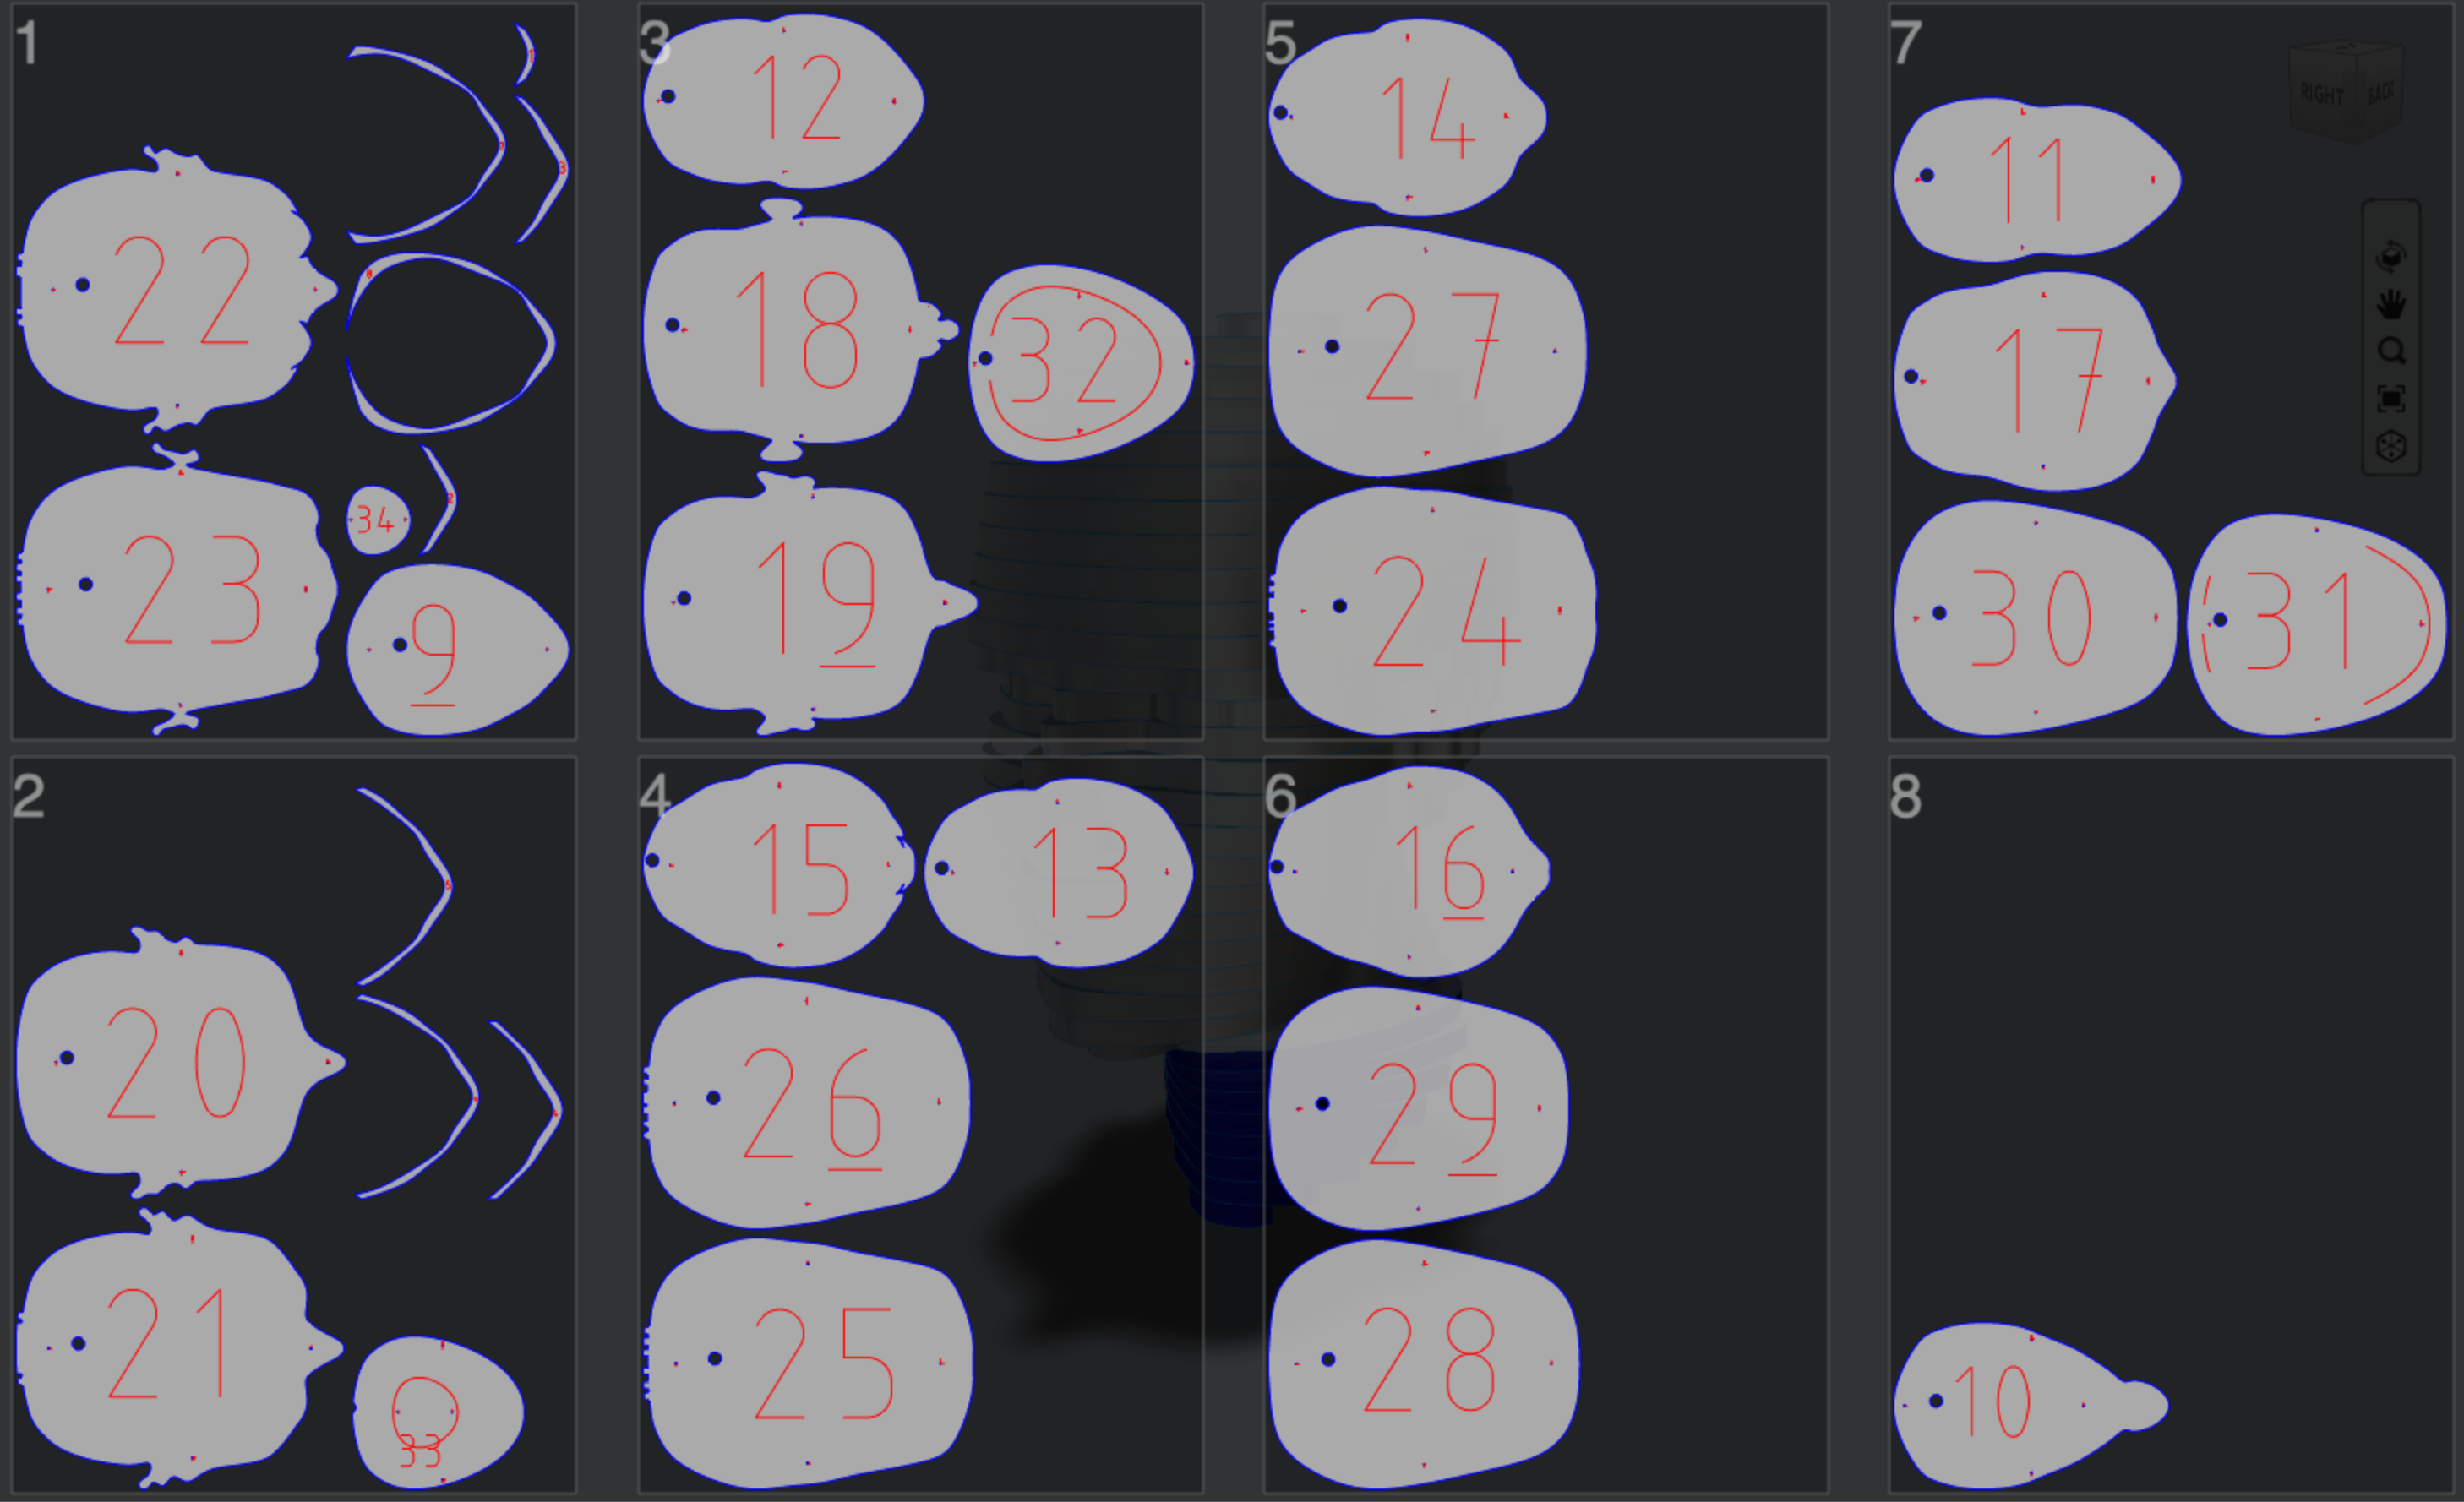
To start off the design of my kinetic sculpture, I found an existing 3D model of a human head to work from on grabcad (Figure 1). In order to make the heads kinetic, I wanted them to rotate around an axis. This would involve placing a shaft towards the backs of the heads to secure them for the rotation, so I added a hole to the figure to accommodate. Using the Fusion 360 Slicer tool, I was able to create cross sections of the head to laser cut using acrylic (Figures 2 & 4). The diameter of the wooden rod I used for the sculpture was 11 mm, but in order to have the acrylic cross section secured on the rod, the diameter of the hole need to be slightly smaller. I designed and carried out an acrylic hole test that involved sketching holes of various sizes to find the optimal diameter to avoid slipping (Figure 3). I found that the best hole size that allowed the rod to freely slide into the acrylic hole without stability was 10.95 mm.
Construction
My circuit setup for this week simply involved hooking up the motors to the Adafruit METRO 5V power source and ground, but it made the heads rotate far too fast. Below you will find a gif of the final kinetic sculpture after I added a potentiometer and programmed it to control the speed of the rotation in Week 4.
Materials
- Two 4.5VDC, 140RPM Gearmotors
- Scrap wood
- 5mm thick Acyrlic
- 11mm wooden rods
- Adafruit METRO board
- Mini bread board
- Nails